Setting up my new Chromebook with linux
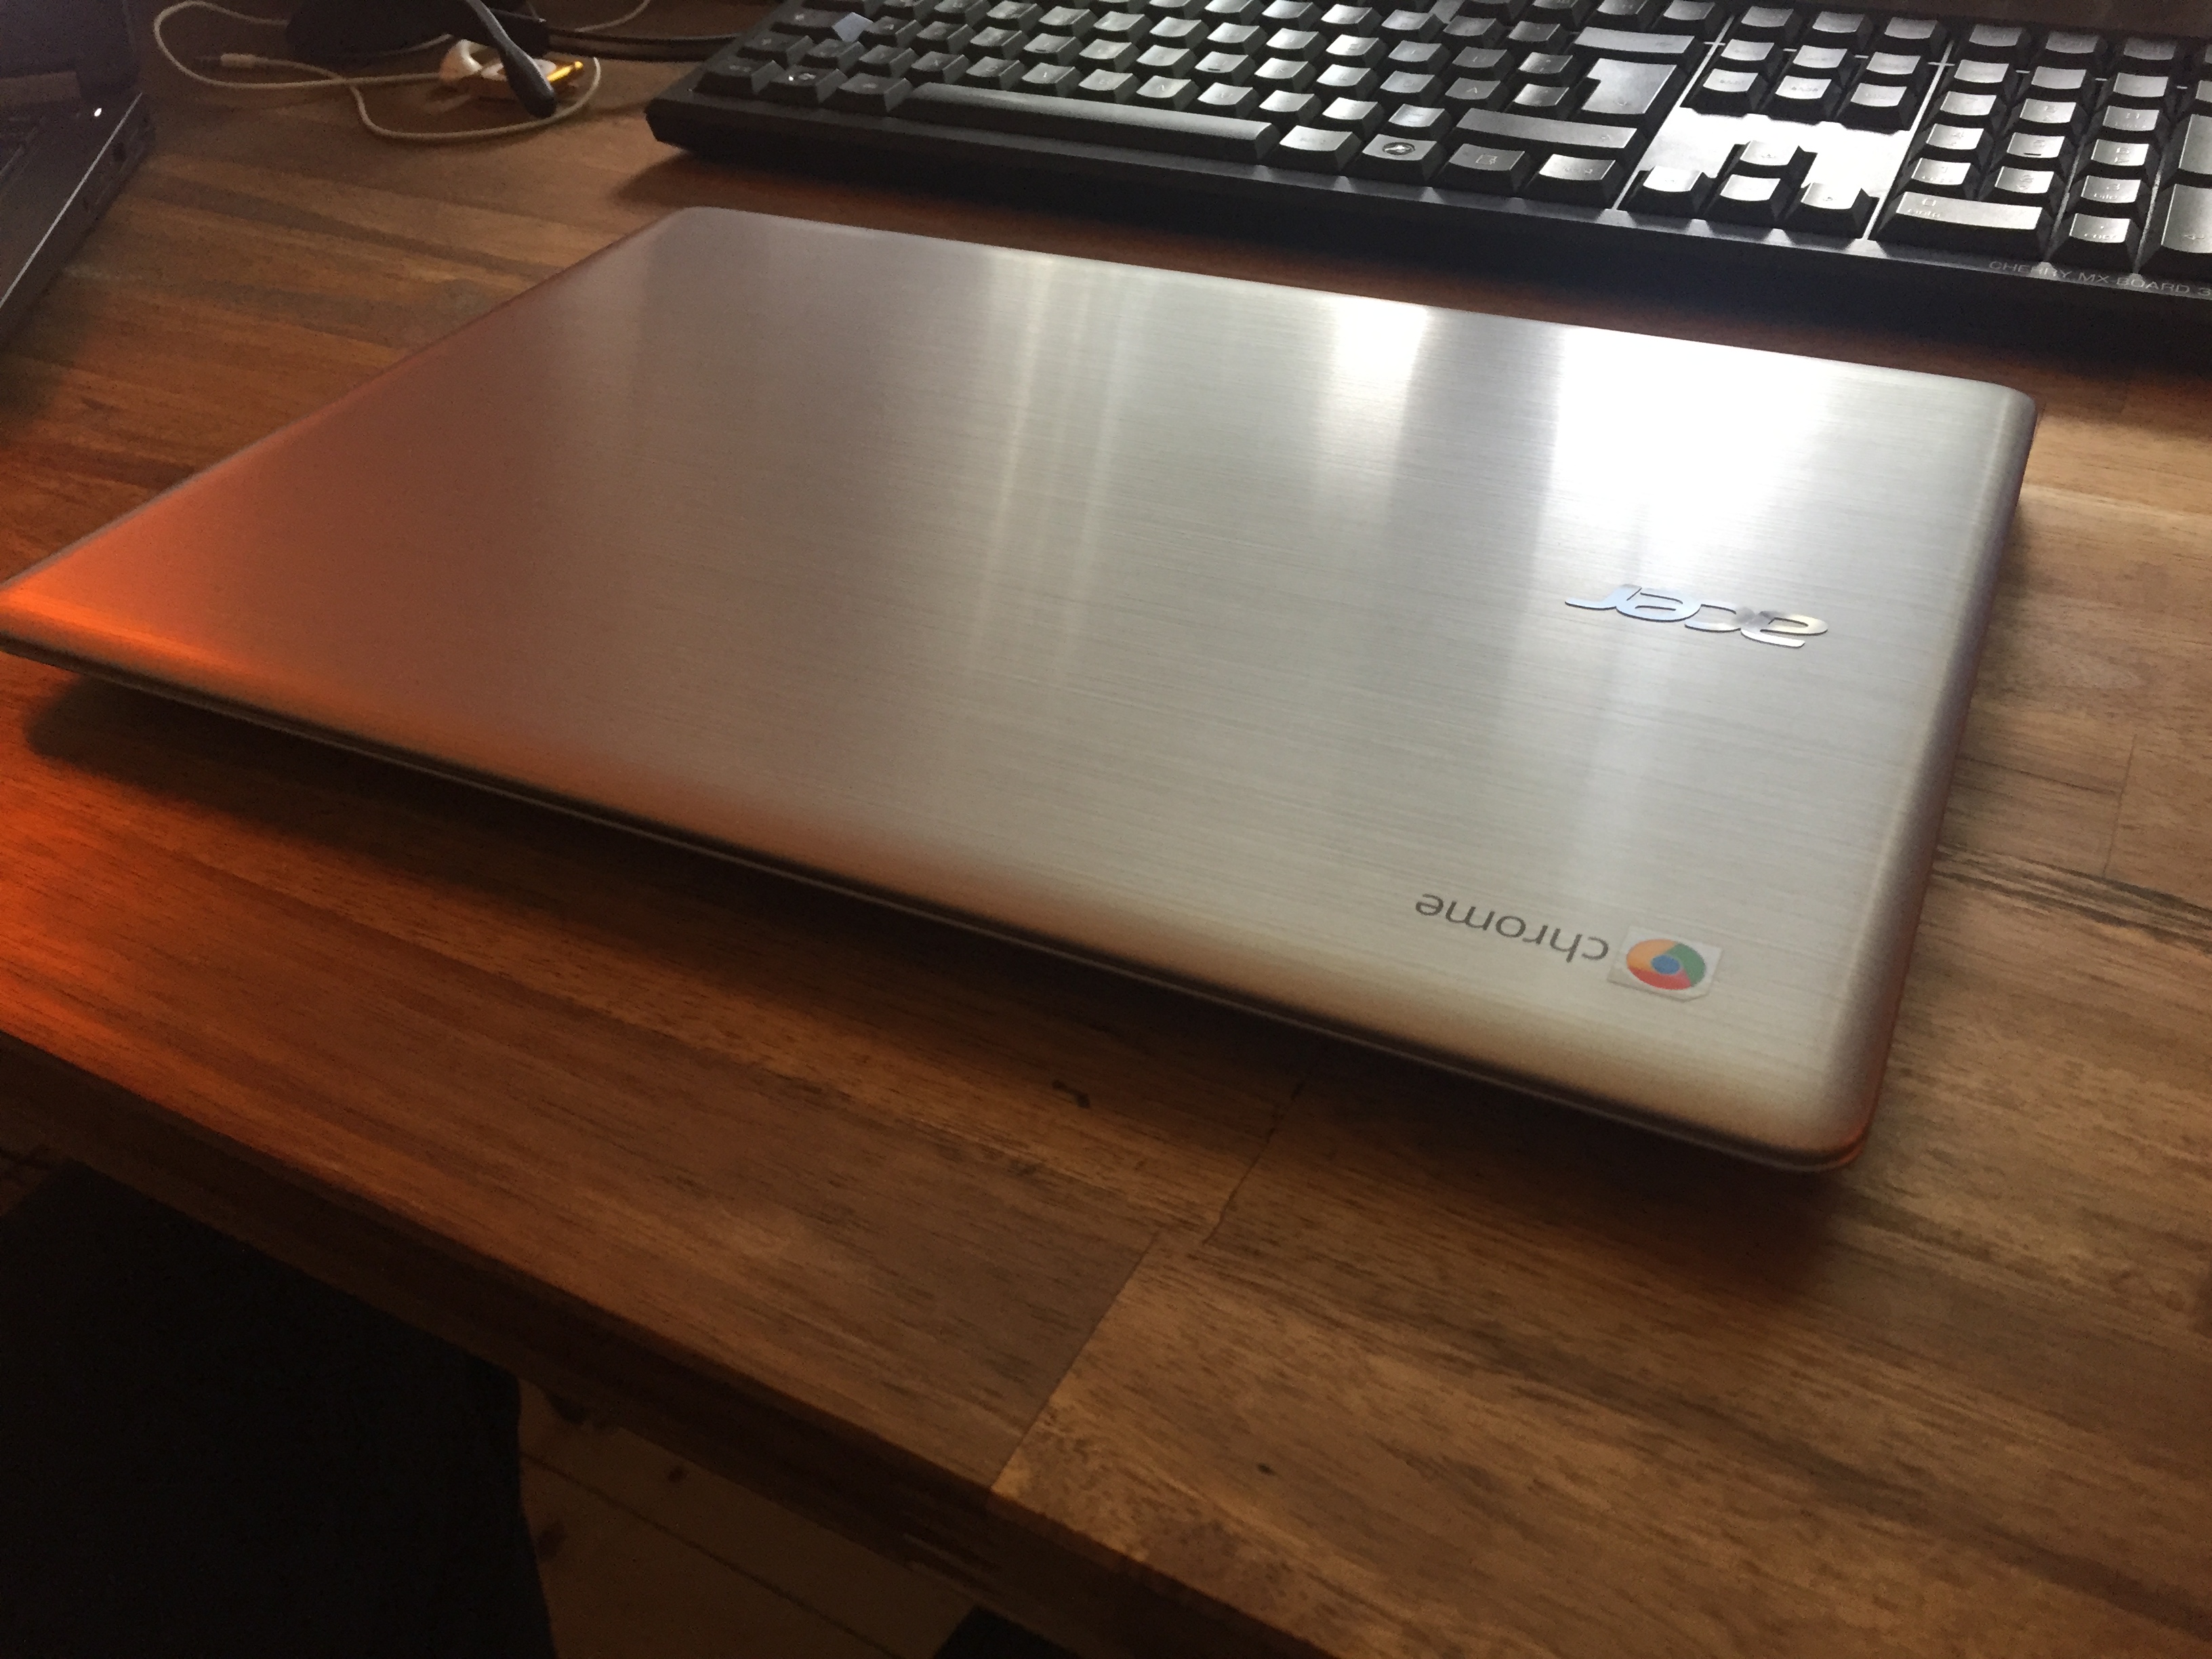
After I spent some time looking for a traveling notebook, I finally made a choice and bought an Acer Chromebook 14. It’s a beautiful, lightweight and minimal laptop. The tech specs (1.6GHz, 4GB RAM, 32GB ) are not that good, but sufficient for the things I’m planning to do with it. I made a very good deal and got a (nearly) untouched one for about 230€.

After playing a bit with ChromeOS I was ready to install linux, because ChromeOS only allows to do some basic stuff like surfing, multimedia, etc.
Setting up my work environment
The first thing I had to do was setting Chrome into Developer Mode. I followed this simple guide, which worked without any problems.
After having shell access (Ctrl+Alt+T) I could begin downloading and using Crouton. I was a bit sceptical when I read that Crouton is only chrooting the guest OS, so it’s not a native boot - the guest OS is running using the Chromium OS system. But after the first day, the chrooted OS runs smooth and I kind of like the possibility to switch fast between different chroots (systems).
So, let’s begin with the configuration. First of all I downloaded Crouton from the github repository (it’s just a shell script).
After this, I installed an Ubuntu 16.04 with some basic extensions and x11:
sudo sh ~/Downloads/crouton -r xenial -t x11,keyboard,audio,extension
keyboard, audio and extension are some basic targets we need for .. basic functionalities.
Now we can enter the chroot and install i3 and cli stuff:
$ sudo enter-chroot -n xenial
$ sudo apt install i3 curl git vim gnome-terminal zsh rofi
To start i3 when the xserver is starting and configuring my keyboard layout, I put the following content in ~/.xinitrc:
setxkbmap -layout de
exec i3
Its also needed to adjust the XKBMODEL in /etc/default/keyboard:
XKBMODEL="chromebook"
Next step, setting up locales in /etc/locale.gen. This was also needed because gnome-terminal did not want to start unless I did this:
de_DE.UTF-8 # uncomment this line for DE locales
Don’t forget to run locale-gen after setting this.
Next thing was generating some fresh ssh keys, adding them to my server and pulling my dotfiles. I am following this approach I found which is a really easy method to manage your dotfiles across different machines (without the need for any additional tools).
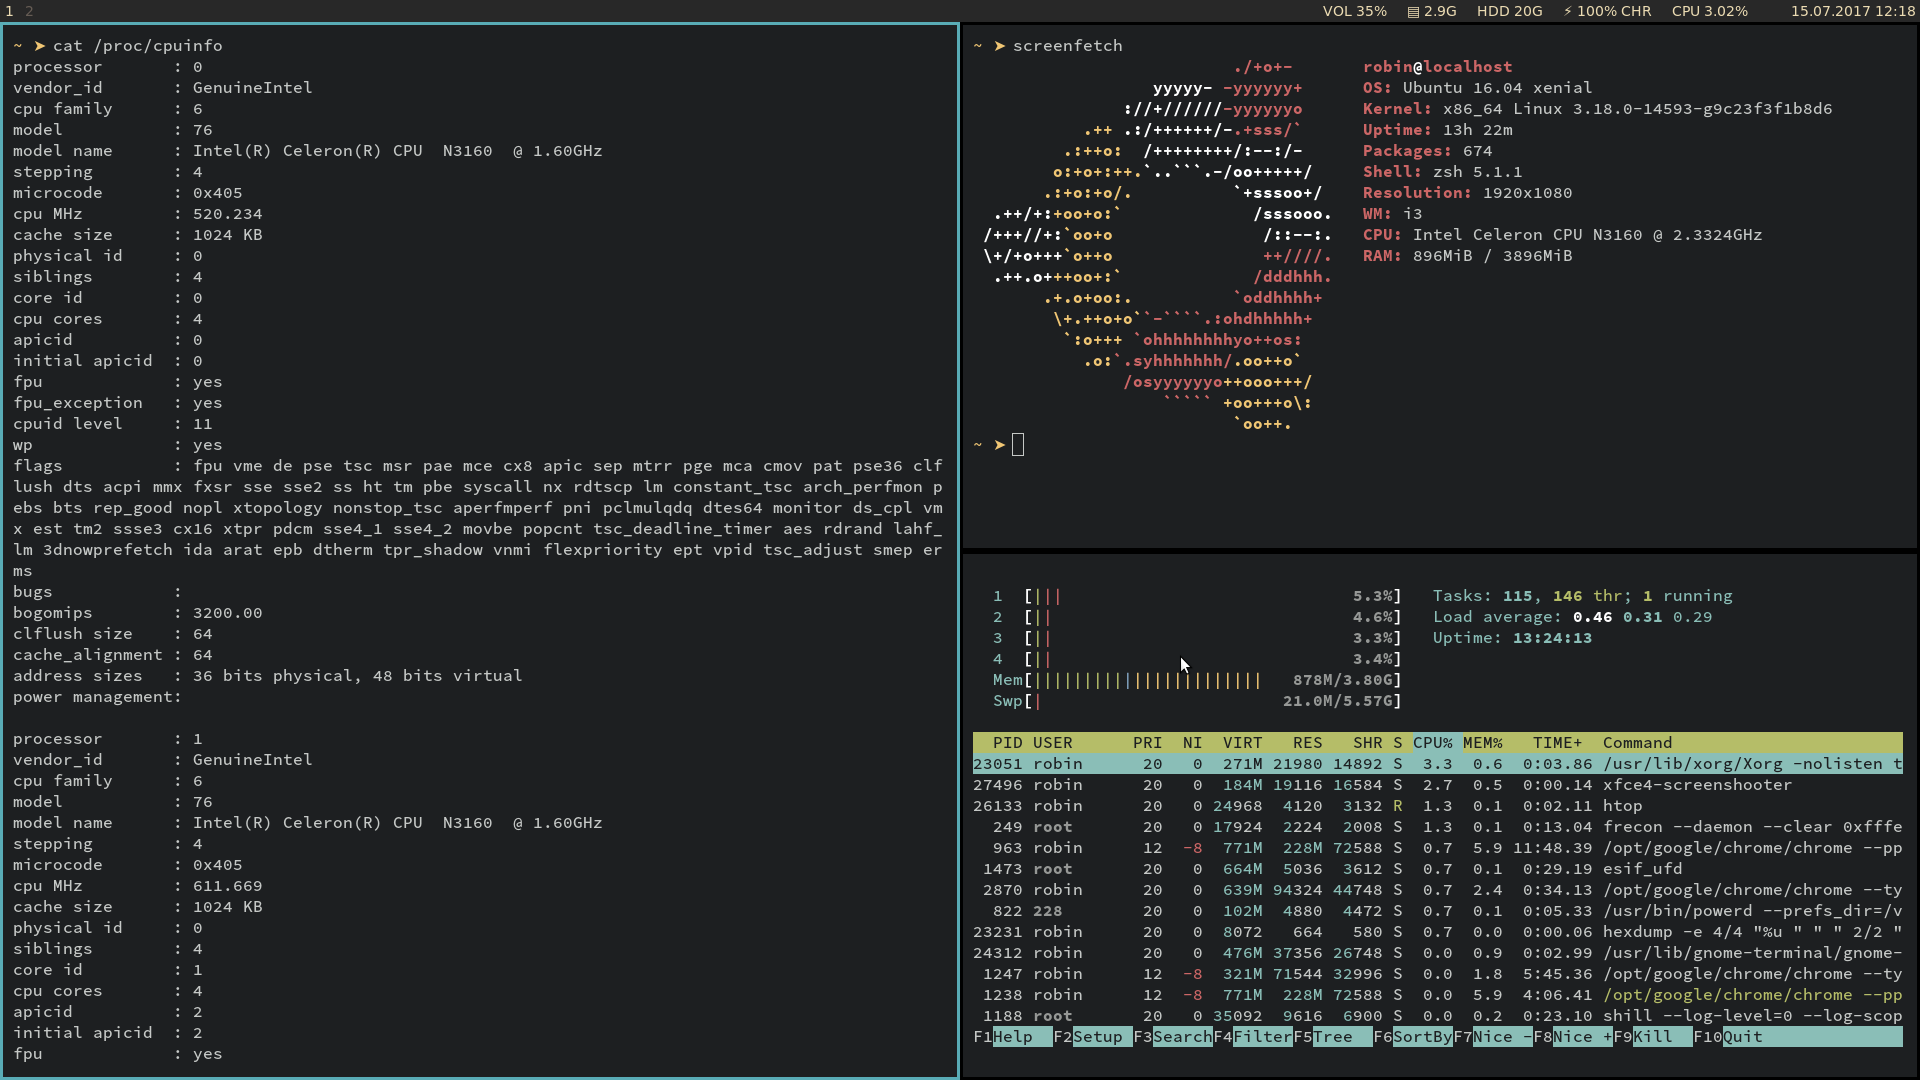
And there we have it, my new Chromebook setup:

A nice thing is I can make a full backup now with the Crouton script (sudo edit-chroot -b chrootname) and save this initial setup if I want to start with a fresh installation again. The gzip’d file is ~600MB.
Let’s see how this setup works out for me on the next trip ;)